Keyboard language suddenly changing: solved
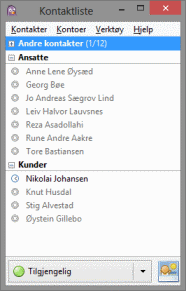
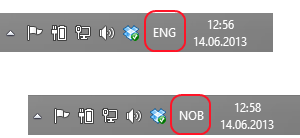
For a long time my keyboard input language sometimes changed for no apparent reason. I have two languages installed, and windows seemed to switch between them at will. It happened almost exclusively while using SQL Server Management Studio, and I wrote it off as an annoying bug in that product. Then, last night, it happened during a presentation. While the consensus of the audience feedback seemed to be that this was a common occurence, one guy suggested it might be because of an unfortunate keyboard shortcut. ...